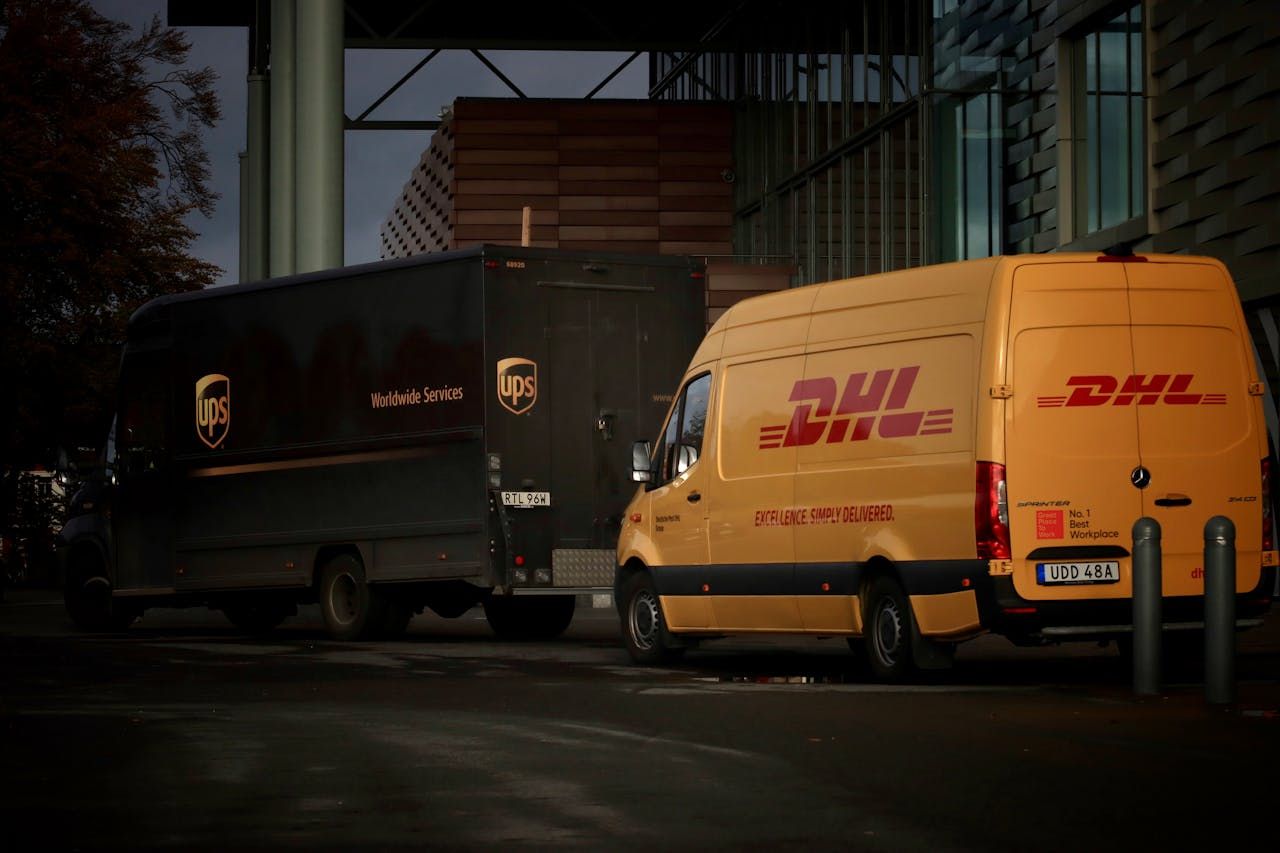
A unified fleet look is not just “nice to have,” it is how people learn to trust your brand on the road. When traffic is heavy in spring and summer and your vehicles are stuck in long lines, those rolling billboards are working overtime, building recognition with every mile. When every truck, van, and trailer looks a little different, that trust starts to slip. When they match, your brand feels organized, reliable, and confidently present in every market, and your message resonates more clearly with the people you serve.
A fleet graphics style guide turns that idea into a clear playbook. It keeps colors, logos, and layouts consistent across models, regions, and installers, even when you work with several vendors. Without it, different substrates, weather, and vehicle types can chip away at your look one small decision at a time. With it, your whole nationwide fleet graphics program starts to feel like one tight, well-run team, projecting a strong, unified brand wherever you operate.
Defining a Strong Visual System for Your Fleet
We start with non-negotiable brand rules. These are the things no vendor should change, no matter what, so your identity stays strong and recognizable in every market.
• Logo usage and clear space around it
• Exact brand colors and which ones come first
• Primary message, secondary message, and any legal copy that must appear
• Placement rules so nothing blocks key safety information
Color and material choices are where a lot of fleets drift. To stay consistent and protect brand impact, your guide should spell out:
• Pantone, CMYK, and RGB values for all main brand colors
• Approved vinyl series and laminate types for different climates
• When to use gloss, matte, or reflective films for night visibility and higher on-road awareness
Typography needs the same level of care. We like to define:
• Approved fonts and backup options if a font is not available
• Minimum type sizes that stay readable at speed
• Contrast rules so text and backgrounds do not fight each other, keeping key messages instantly legible
Then we look at layout by panel. Sides, rear, and cab doors all behave differently. Door handles, fuel doors, hinges, and seams can cut through logos or phone numbers. Your guide should map safe zones and danger zones so designers do not place critical elements where they will get sliced or stretched, preserving both clarity and visual strength.
For photography, icons, and patterns, aim for one clear style that reflects your story and values. Choose image types that fit your narrative, like lifestyle scenes, product close-ups, or clean abstract textures that echo your brand personality. Set resolution minimums so photos do not pixelate on a trailer. Patterns and brand graphics should scale across sedans, box trucks, trailers, and specialty units without feeling cramped or empty, so every vehicle reinforces the same confident, modern look.
Turning Vehicle Data Into Reusable, Accurate Templates
A strong visual system only works if it fits the vehicle. That is where templates come in. Together, we can build a master vehicle library that catalogs every make, model, year, wheelbase, and roof height in your fleet. Tie VIN or body codes to specific template versions, so the right layout reaches the right unit every time and every install runs more smoothly.
Good wrap templates start from real data. Use OEM drawings when possible, then confirm with precise field measurements. Mark:
• Seams, curves, rivets, and body lines
• Obstructions like ladders, vents, and windows
• No-print zones, high-stretch areas, and panel breaks
All templates should live in a shared, version-controlled system that every approved vendor can access. Clear naming helps, like brand_tractor_model_roofheight_version. Keep a simple revision log so, when spring and summer rollout hits, no one is guessing which file is current. This level of logistics and precision keeps programs predictable and reduces costly rework.
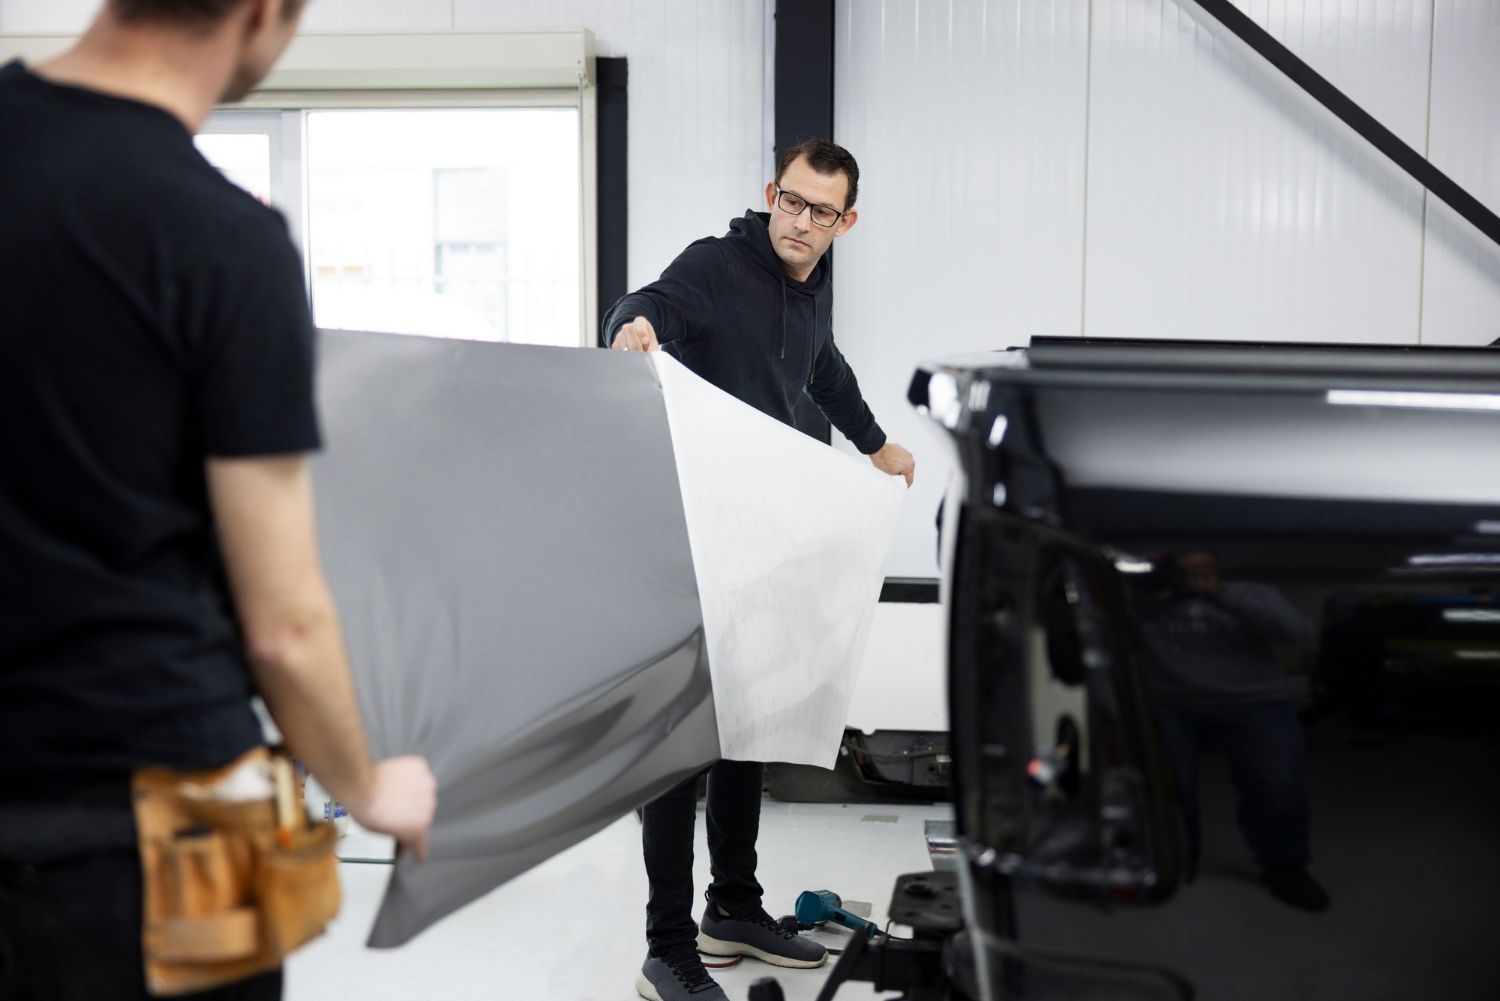
Installers are key partners here. We like to involve them early, asking where they see tension, stretching, or tricky curves. Their notes can be added right on the template, including preferred paneling strategies and squeegee directions. That way, what worked well in one shop can be repeated across the country, and the entire network benefits from shared expertise.
Writing Rock-Solid Specifications Vendors Can’t Misread
Next, we turn brand rules and templates into technical specs that are crystal clear. This is where creativity and practicality meet: bold designs, backed by precise execution. For print, spell out:
• Approved vinyl and laminate lines for short-term and long-term use
• Which materials are allowed on trailers, tractors, vans, and cars
• Print resolution, ink type, and color tolerance targets
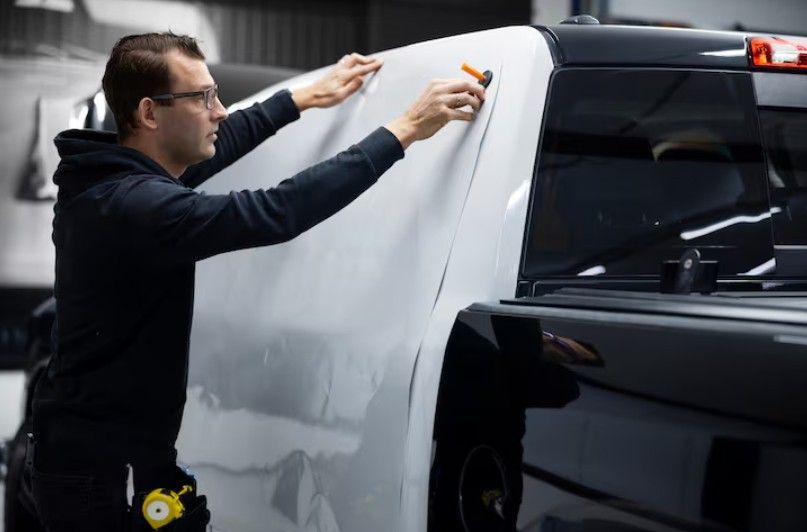
Installation specs are just as important. They should cover:
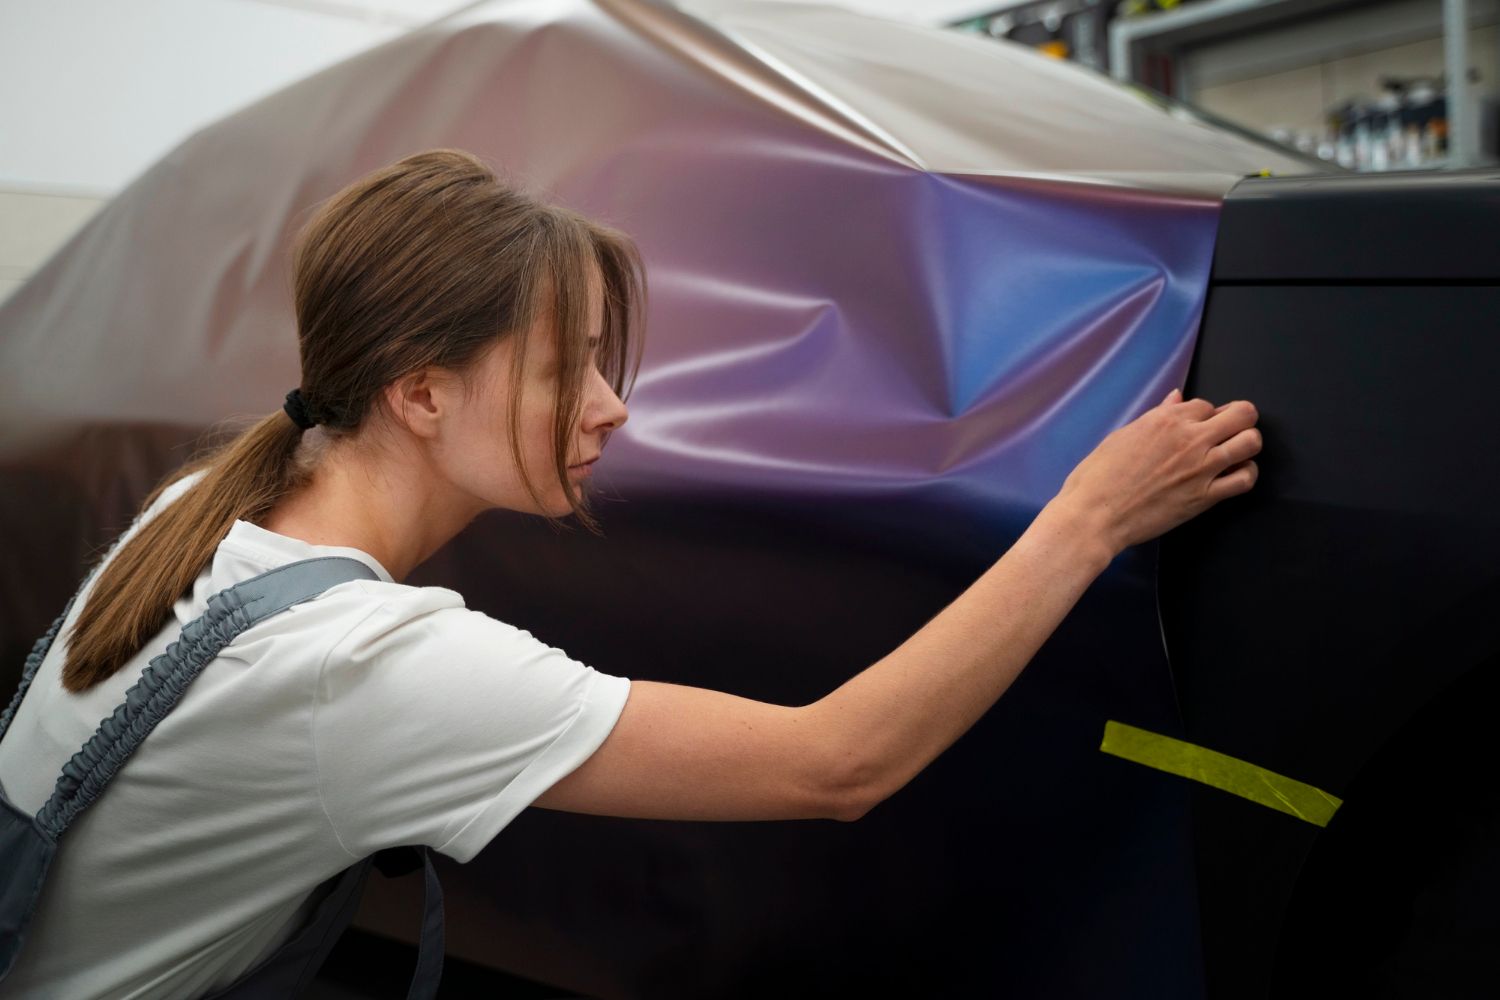
• Surface prep steps, including cleaning products and dry time
• Required cure time for new paint before any graphic install
• Temperature and humidity ranges that are acceptable
Some vehicles have corrugations, rivets, or complex curves. Your guide can explain when to use inlays, when relief cuts are allowed, and how much overlap is required so installs look clean, last longer, and keep your brand looking sharp.
Finally, do not forget logistics and packing. This is where a well-run program protects both time and quality. Graphics should be:
• Labeled by vehicle and panel (driver-side, passenger-side, rear)
• Packed in a clear order for install, with simple diagrams
• Protected at edges, rolled core-in, and never folded
Set clear documentation rules too. That includes how digital proofs are approved, when printed color targets are needed, and how reprints should be ordered so they match vehicles that have been on the road for months. Together, these details keep your fleet graphics program moving forward with confidence.
QC Checklists That Keep Multi-Vendor Installs Aligned
A style guide without quality checks is just a wish. QC turns your standards into daily habits and protects the trust your vehicles build on the road. Before any install, techs should confirm they have:
• The right template and revision
• The correct vehicle configuration and options
• Photos of the starting condition, including any body damage
During the install, we like to build in checkpoints. Key items include:
• Alignment with body lines, wheel wells, and door gaps
• Panel overlaps that match the guide in size and direction
• Clean seams and relief cuts, not random or jagged ones
When the wrap is done, a simple pass/fail checklist keeps fleets consistent. Check for bubbles, lifting edges, filled rivets, clean trims, and open hardware access. Standard photo documentation, from set angles and distances, can then be stored in a central system to audit quality across all installers in your nationwide fleet graphics program.
QC results should not just be used to reject work. They can also guide training, show where specs need more detail, and highlight shops that are doing excellent work so others can learn from them. Over time, that shared learning lifts quality across the board and strengthens your brand presence on every route.
Turning Your Style Guide Into a Living, Shared Resource
A style guide works best when it is easy to find and simple to update. Host everything in one secure, cloud-based hub: brand rules, templates, print specs, QC forms, and example photos. Assign clear owners inside your team who are responsible for updates when vehicles, branding, or regulations change, so the guide always reflects your latest direction.
Training is where the guide becomes part of the culture. Short walk-throughs for designers, installers, and logistics coordinators help everyone see how their role supports the whole fleet and your overall brand story. Quick-reference one-pagers and short videos are great for teams that move fast or work overnight shifts. Encourage questions from vendors in different regions, especially those dealing with tougher climates, since their feedback keeps the guide grounded in real-world work and continuous improvement.
To understand the impact, track simple metrics over time, like reprint rates, install times, and QC scores. Watch how they shift as you tighten specs or update materials. That data can support better choices about when to refresh graphics and where to focus training before the next busy season hits, turning every improvement into a step forward for your brand.
At American Graphics & Signs, we see nationwide fleet graphics as a partnership between brand, design, production, and logistics. We are grateful for the opportunity to collaborate with teams who want to elevate their on-road presence. When we help build or refine a fleet graphics style guide, the goal is to make complex rollouts feel steady, repeatable, and inspiring, so together we keep every vehicle on brand, on message, and ready for the road, strengthening your visibility and resonance in every market you serve.
Get Started With Your Project Today
Transform your vehicles into consistent, high-impact brand assets with our expert
nationwide fleet graphics solutions. At American Graphics & Signs, we work closely with you to design, produce, and install graphics that reflect your brand and hold up on the road. Tell us about your fleet and goals, and we will provide a clear plan, timeline, and quote. Ready to move forward or have questions about your options?
Contact us to get started.